How to Make Freeze Dry Candy at Home?
Freeze Dry Candy has become a popular treat for many. It offers a unique texture and concentrated flavor that delights both kids and adults. Making Freeze Dry Candy at home can be a fun adventure. However, it requires attention to detail and some trial and error.
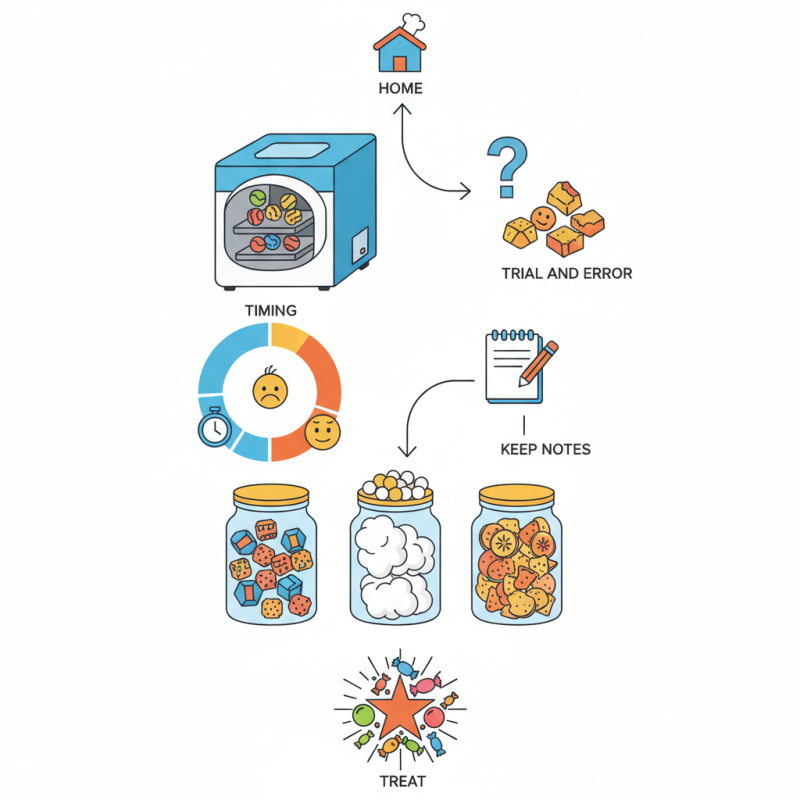
Creating this candy isn't as simple as it sounds. You must use a freeze dryer, which can be an investment. Many people may struggle with getting the timing right. Too long could ruin the candy, while too short means it won’t be properly dried. The results can be inconsistent. Some batches may turn out perfect, while others might be less appealing.
Experimenting with different candies is part of the process. Each type reacts differently to freeze drying. Fruit snacks can become crispy, while marshmallows take on a light texture. Not everything will work the first time, so patience is key. It's essential to keep notes on your experiences to improve over time.
How Freeze-Drying Works: The Science Behind the Process
Freeze-drying candy at home is a delightful way to experiment with sweets. Understanding the science behind freeze-drying can enhance this process. Freeze-drying, or lyophilization, removes moisture from food by freezing it and then reducing the pressure. The solids then sublimate, transforming ice directly into vapor without passing through a liquid phase. This method preserves flavor and nutrients effectively.
Research shows that freeze-dried foods retain 90-97% of their original nutrients. A study by the National Center for Food Safety revealed that traditional drying methods could destroy up to 60% of vitamins. By freeze-drying candy, you maintain color, taste, and texture. This process creates a light, crunchy snack, appealing in texture and flavor. Home freeze dryers can be expensive, but the results might warrant the investment.
Not all candies are suitable for freeze-drying. High-fat content or gelatin-based candies may not achieve ideal results. Experimenting with different types can lead to surprises. For example, gummy candies often turn into airy puffs, losing their chewy charm. Trial and error are part of the journey. Embrace the imperfections. It's all about discovering which flavors and textures you love the most. Enjoy the process, and let your creativity shine.
Essential Equipment for Home Freeze Drying: A Beginner's Guide
Making freeze-dried candy at home is a fun adventure. The right equipment is crucial for success. A freeze dryer is the most important tool. It helps remove moisture from food while preserving flavor. This process can take several hours. Be patient.
You also need vacuum seal bags. These bags will protect your candy after freeze drying. Choose bags that are durable and airtight. A food scale will help measure your ingredients accurately. Don’t forget airtight containers to store your final product. These prevent moisture from ruining your hard work.
Think about temperature control. An accurate thermometer is helpful. Sometimes, the process doesn’t go as planned. You might end up with candy that isn’t quite dry enough. Experimenting is part of the journey. Keep notes on what works and what doesn’t. It’s all about learning and improving. Enjoy the process and embrace the imperfect results.
Freeze Dry Candy Popularity by Type (2023)
Choosing the Right Ingredients: Best Candies for Freeze Drying
Choosing the right ingredients is essential when making freeze-dried candy at home. Certain candies perform better in the freeze-drying process due to their composition. For example, gummy candies, with high sugar content and low moisture, retain their shape and texture well after drying. According to recent industry reports, gummies have a freeze-drying yield that can exceed 80%. This means you get more flavorful and concentrated candy.
Chocolate-based candies can be tricky. They often don't freeze dry effectively. The fats in chocolate can lead to undesirable textures. Instead, consider using marshmallows or fruit-flavored soft candies. These alternatives provide a delightful crunch while maintaining their vibrant colors post-drying. Research shows that fruit candies, especially those made with real fruit, can have a rich flavor, making them ideal for freeze-drying.
Experimentation is key. Not all candies will yield the expected results. Some may act unexpectedly during the freeze-drying process. For example, sour candies may lose their tanginess. Observing the outcome can guide future attempts and improve technique. Being open to trial and error enhances the overall candy-making experience.
Step-by-Step Process: Making Freeze-Dried Candy at Home
Making freeze-dried candy at home can be a fun and rewarding process. To start, gather your ingredients. Use fresh fruit, gummy candies, or even marshmallows. You’ll need a freeze dryer, which may seem like an investment. However, it can be worth the effort if you enjoy experimenting with different flavors.
Next, prepare your candies. Cut fruit into bite-sized pieces. This helps them dry evenly. Place them on the freeze dryer trays. If you’re using gummy candies, they can go on the tray as they are. Space them out well.
After that, set the freeze dryer according to the manufacturer guidelines. This part can feel lengthy, but patience is key. You might need to adjust timings based on your choices.
When the cycle completes, check if the candies are crispy. If they feel chewy, they need more time. Re-freezing them may also help. Keep notes of your process. Did some ingredients work better than others? Reflect on these experiments. With practice, you can refine your technique and discover new favorites.
Storage Tips for Long-Lasting Freeze-Dried Candy: Best Practices
When it comes to storing freeze-dried candy, there are a few important practices to keep in mind. Use airtight containers to prevent moisture from ruining your treats. Mylar bags are great for long-term storage. You can also use oxygen absorbers to extend the shelf life further. Remember, exposure to air can compromise flavor and texture.
Recommendations suggest keeping the candy in a cool, dark place. An unintended heat source can alter its quality over time. I learned this the hard way. My first batch of freeze-dried candy went stale after just a few weeks. Experiment with different storage methods if you're unsure what works best for you.
Check for signs of spoilage before consuming. Sometimes, it’s hard to admit when something is no longer good. Trust your instincts. If it smells off or looks discolored, it’s better to toss it. Experimenting is part of the fun, but keeping your candy fresh should be a priority. Enjoy your creation and share it with friends in good time.
How to Make Freeze Dry Candy at Home? - Storage Tips for Long-Lasting Freeze-Dried Candy: Best Practices
| Candy Type | Ingredients | Freeze Drying Time (Hours) | Storage Method | Shelf Life |
| Gummy Bears | Gelatin, Sugar, Corn Syrup | 18-24 | Airtight container | 12-18 months |
| Marshmallows | Sugar, Gelatin, Corn Syrup | 24-30 | Mylar bags with oxygen absorbers | 1-2 years |
| Fudge | Sugar, Butter, Cream, Chocolate | 18-24 | Airtight jar | 1 year |
| Fruit Snacks | Fruit puree, Sugar, Pectin | 12-16 | Sealed plastic containers | 6-12 months |